Your loft could be costing you hundreds of pounds every year. Not because it needs repairs or maintenance — but because it’s letting all your expensive heating escape through the roof.
If you’re like most UK homeowners, you’re probably losing around 25% of your home’s heat through an uninsulated or poorly insulated loft space. That’s money literally disappearing into thin air.
The good news? Learning how to insulate a loft properly is one of the most cost-effective home improvements you can make. And unlike major renovations or extensions, it’s something that pays for itself remarkably quickly.
Why Your Loft Is Probably Costing You More Than You Think
Think of your home like a giant tea cosy. Without proper insulation, you’re essentially trying to keep warm with a cosy full of holes. Hot air rises — it’s basic physics — and if there’s nothing to stop it, it’ll find its way straight through your roof.
Proper loft insulation can save the average UK household between £135–£315 per year on heating bills. That’s not pocket change. That’s a family holiday, a few months of groceries, or a decent chunk toward your next home improvement project.
But here’s what most people don’t realise: how loft insulation works isn’t just about keeping heat in during winter. Good insulation works both ways, keeping your home cooler during those surprisingly warm British summers (yes, they do exist).

Understanding Your Loft: The Foundation of Good Insulation
Before you even think about materials or installation, you need to understand what you’re working with. Every loft is different, and what works for your neighbour’s 1930s semi might not be right for your Victorian terrace.
Are you dealing with:
- A simple storage loft that you rarely use?
- A space you’re planning to convert into a proper room?
- An already converted loft that needs better insulation?
The answer affects everything — from the types of loft insulation you’ll need to the loft insulation thickness UK building regulations require.
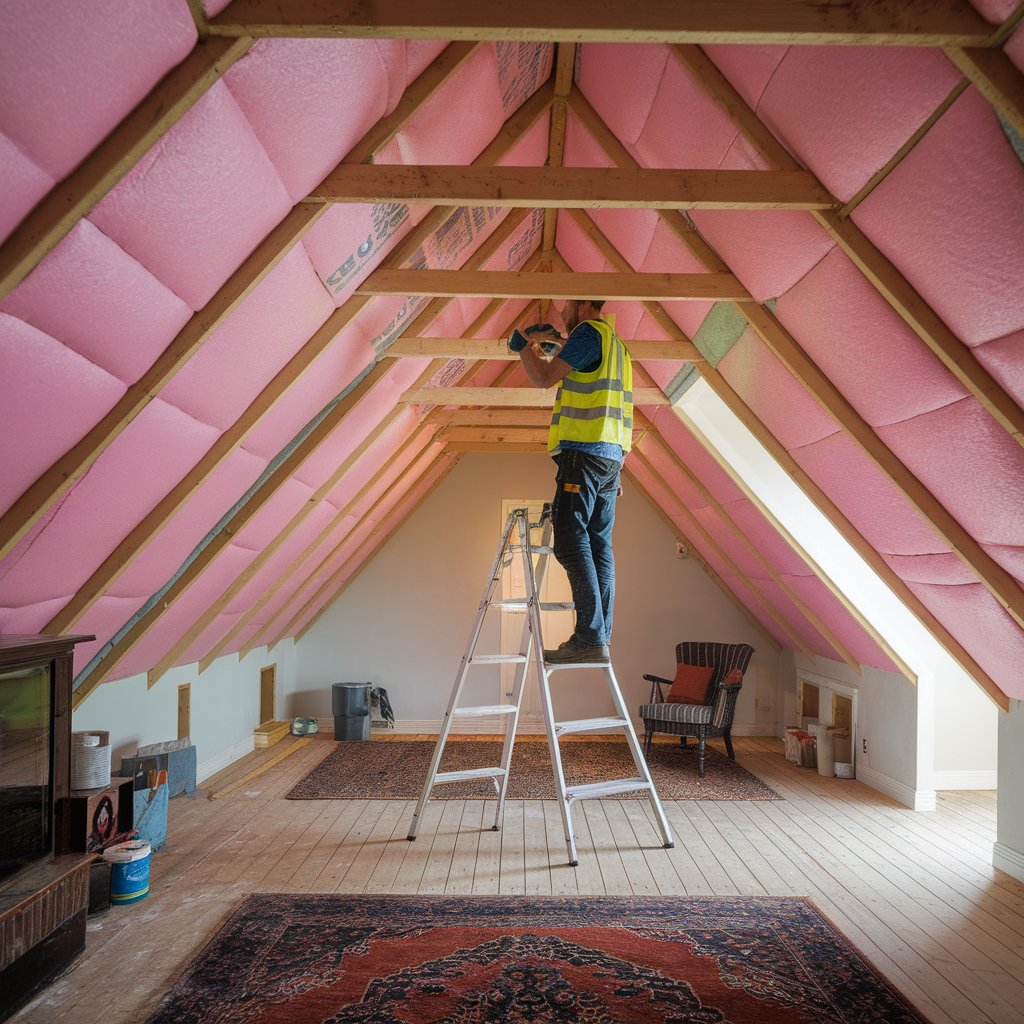
For a basic storage loft, you’ll typically focus on loft floor insulation — laying insulation between and over the joists. But if you’re planning a loft conversion insulation project, you’ll need to think about insulating the roof slope itself (what builders call cold roof insulation).
Ready to explore your options? Let’s talk about what’s available.
The Best Insulation for Loft Spaces: Your Material Guide
Ever walked into a builders’ merchant and felt completely lost? You’re staring at rolls, boards, loose-fill stuff, spray foam cans — and honestly, you haven’t got a clue where to begin.
I get it. We’ve all been there. Let me break down what actually works (and what doesn’t):
Mineral Wool — The Reliable Workhorse
You know those loft floor insulation rolls you see everywhere? That’s mineral wool — either glass wool or rock wool. There’s a reason it’s in most British homes.
It works. It’s cheap. And if you’re reasonably handy, you can install it yourself.
- Perfect for: Your standard loft insulation job, weekend DIY projects.
- The numbers: Hits the 0.16 W/m²K target without breaking a sweat.
- Just remember: This material causes severe skin irritation — don’t even think about touching it without proper loft insulation safety gear.
PIR Boards — When Space Is Tight
These rigid boards are what the pros reach for when they need serious performance in a small space. Polyisocyanurate boards pack more insulating power per inch than anything else.
- Perfect for: Loft conversion insulation where every millimetre of headroom counts.
- The upside: Amazing performance, won’t absorb moisture, and is strong enough to walk on.
- The reality: You’ll pay more upfront, but the results speak for themselves
Natural Materials — The Feel-Good Option
Sheep’s wool, hemp, recycled denim — these materials are having a moment with homeowners who care about their environmental impact.
- Perfect for: Anyone prioritising green credentials and natural breathability.
- The benefits: No nasty chemicals, naturally regulates moisture.
- The catch: Your wallet will feel it, and good luck finding them at your local builder’s yard
Encapsulated Insulation
Imagine normal mineral wool, but wrapped up so it doesn’t shed fibres everywhere. Encapsulated loft insulation is basically mineral wool that’s learned some manners.
- Perfect for: Anyone who’s dealt with traditional mineral wool and sworn “never again”
- The benefits: Much cleaner to work with, healthier for you and your family.
- The trade-off: You’ll pay a bit extra for the convenience (but many think it’s worth it)
How to Lay Loft Insulation: The Step-by-Step Reality
Right, let’s get practical. Installing loft insulation sounds simple enough in theory, but once you’re up there with a head torch, dodging roof beams and trying not to put your foot through the ceiling… Well, it’s a different story entirely.
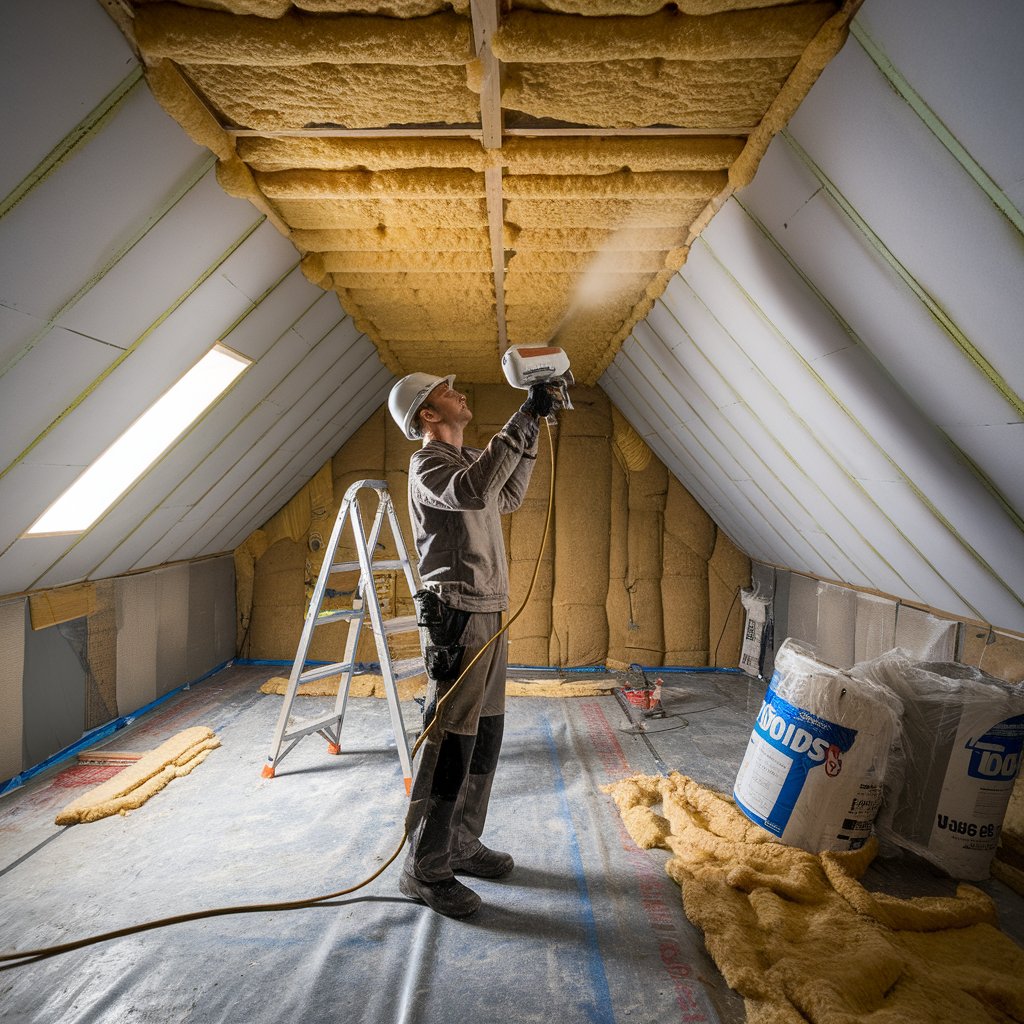
Before You Start: Safety
Look, I’ve seen too many DIY disasters over the years. Loft insulation might look harmless, but those fibres will irritate every inch of exposed skin. Plus, you’re working in a cramped space with exposed electrical cables and limited visibility.
You absolutely need this loft insulation safety gear:
- Proper dust mask (not the flimsy paper ones)
- Safety goggles that actually seal around your eyes
- Long sleeves and thick gloves
- Knee pads (trust me on this one)
- Decent head torch plus backup
Skip any of these, and you’ll regret it.
Step 1: Clear Everything Out (Yes, Everything)
First job? Empty your loft. That exercise bike you bought in 2019? Out. Those Christmas decorations you forgot you had? Out. Everything goes.
While you’re at it, check for problems:
- Cracks or gaps in the roof
- Any signs of damp or water damage
- Old insulation that’s compressed or damaged
- Loft insulation around electrical cables that looks dodgy
Step 2: Get Your Measurements Right
This is where most weekend warriors mess up. They guess the measurements, buy too little material, and then end up with gaps everywhere.
Work out exactly what you need:
- Total floor area (measure it properly)
- Loft insulation thickness UK regs require — usually 270mm for decent performance
- Add 10-15% extra for wastage and awkward cuts
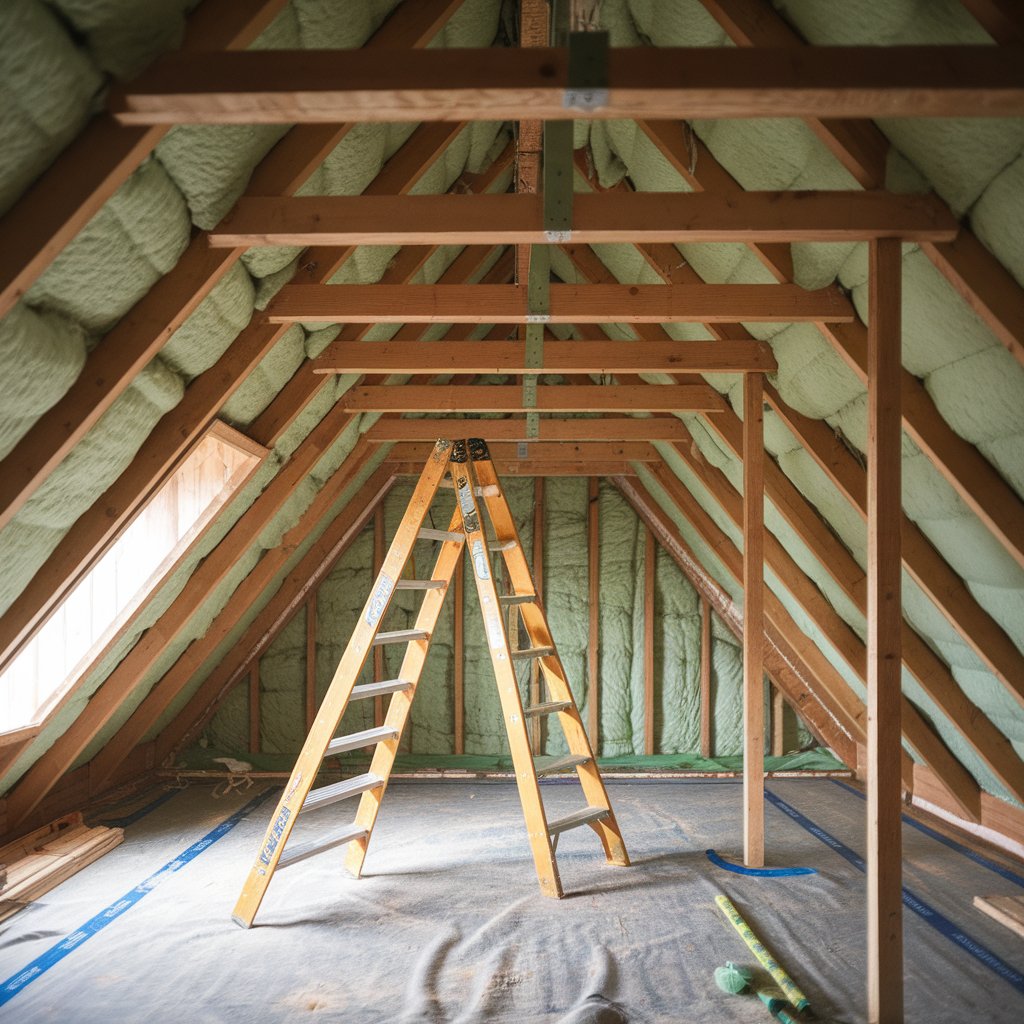
Step 3: Joist Insulation Installation — The Foundation
Start with your first layer between the joists. Take your time here — rush this bit, and everything else will be wonky.
Roll it out carefully (it springs back if you’re not careful), butt the joints tightly together, and whatever you do, don’t compress it. Compressed insulation is useless insulation.
Step 4: The Second Layer — Where the Magic Happens
This is the bit that separates proper jobs from bodge jobs. Your second layer goes perpendicular to the first, covering those wooden joists that would otherwise act as thermal bridges.
This is where cold roof insulation principles really pay off. You’re not just filling holes — you’re creating a proper thermal barrier across the whole loft floor.
Step 5: The Complex Bits
Here’s where weekend DIY projects often hit a wall. Insulating around recessed downlights isn’t straightforward — get it wrong, and you’re looking at a genuine fire risk.
Modern LED downlights run cooler, but older halogen ones can get seriously hot. The rule is simple: maintain a 50mm gap around non-fire-rated fittings. No exceptions.
Better yet:
- Install fire-rated downlight covers where you can
- Consider upgrading to proper fire-rated LED fittings
- When in doubt, call someone who knows what they’re doing
Loft insulation around electrical cables is another headache. Cables need airflow to stay cool — bury them completely under insulation, and they could overheat.
Starting to wonder if this is more complicated than you bargained for? You’re not wrong. IONESI Builders deals with these technical details every day — sometimes it’s worth letting the professionals handle the tricky bits.
Loft Insulation UK: Savings, Comfort, and Value Explained
Let me give you some actual figures, not the usual sales pitch rubbish.
Loft insulation recommendations aren’t just made up — they’re based on proper analysis of British homes and our climate. Decent insulation typically gets you:
- 15-25% cut in your heating bills
- Better comfort all year round
- Smaller carbon footprint
- Higher property value when you sell
Loft insulation cost UK varies all over the place, but here’s what you’re realistically looking at:
- DIY with basic mineral wool: £300-600 for an average house
- Professional job with quality materials: £800-1,500
- Loft conversion insulation as part of a full conversion: £2,000-4,000
How long before it pays for itself? Usually, somewhere between 2-5 years, depending on how much you’re currently spending on heating and how much improvement you actually achieve.
Common Mistakes (And How to Avoid Them)
After years of helping UK homeowners with insulation projects, we’ve seen the same mistakes repeated time and again:
- Mistake 1: Choosing thickness over quality. More isn’t always better. A thicker layer of cheap insulation often performs worse than an optimal thickness of quality material.
- Mistake 2: Ignoring thermal bridges. Those wooden joists conduct heat, too. If you don’t address thermal bridging, you’re leaving money on the table.
- Mistake 3: Blocking ventilation. Your loft needs to breathe. Block the eaves ventilation with insulation, and you’ll create condensation problems that can cost thousands to fix.
- Mistake 4: DIY-ing complex details. Simple loft floor insulation? Often suitable for DIY. Insulating around recessed downlights or dealing with complex roof geometries? That’s when you need professionals.
When to Call the Professionals
Here’s the truth: how to insulate a loft tutorials make it sound straightforward. And for simple projects, it can be. But there’s a reason qualified insulation contractors exist.
Consider professional installation if:
- Your loft has complex wiring or lighting
- You’re planning a conversion
- The roof structure is unusual or damaged
- You’re not confident working at height
- You want guarantees and insurance coverage
IONESI Builders specialises in all aspects of loft work — from simple insulation upgrades to complete conversions. We understand UK building regulations, work with quality loft insulation material, and guarantee our work.
Because your family’s comfort and safety are too important for guesswork.
Your Next Steps: From Cold Loft to Cosy Home
So where do you go from here? You’ve got the knowledge, you understand the options, and you know the potential benefits. But knowledge without action is just expensive education.
Here’s your action plan:
- Assess your current situation — when did you last check your loft insulation?
- Set your budget — what makes sense for your home and finances?
- Decide on DIY vs professional — be honest about your skills and available time
- Get quotes — even if you’re planning DIY, professional quotes give you a baseline
The UK’s climate isn’t getting any warmer (despite global warming, our winters are still proper winters). Energy prices aren’t getting cheaper. And your current insulation — if it exists — isn’t getting more effective with age.
Ready to make your home more comfortable and reduce those energy bills?
IONESI Builders offers free loft assessments for London and the surrounding areas. We’ll evaluate your current insulation, explain your options, and provide transparent pricing — no pressure, no hard sell, just honest advice from experienced professionals.
Whether you need a simple insulation upgrade, are planning a full loft conversion, want to explore adding a loft staircase for better access, or are considering other home improvements like extensions or refurbishments, we’re here to help.
Call IONESI Builders today for your free consultation. Because a warmer, more efficient home starts with a single phone call.